SourcePhilippine Department of Foreign Affairs (DFA) and Philippine foreign service posts
Verified
Quick answer: Background for the Philippines passport photo: photo is usually taken at the authority on site; if a preparatory file is needed, use a neutral plain light background without shadows. Neutral expression, glasses prohibited. Last verified .
You bring no photograph: the picture is taken at your appointment, so there is no print size, age limit or background to prepare. Prepare yourself instead — glasses off, ears and forehead visible, no earrings, a collared or high-neck top.
Unlike most passports, the DFA lets you smile slightly — without showing teeth and gums — and recommends a «Mona Lisa» smile; a raised eyebrow, squint or frown is not acceptable.
The clothing rule is part of the capture: collared tops or higher necklines in a colour that contrasts the background cloth are encouraged; sleeveless tops, camisoles, plunging, see-through, tube or halter tops are not (posts repeat the list).
How passport photos are verified
A regular Philippine passport does not need a photo from you. The Department of Foreign Affairs (DFA) and its overseas posts take the picture, the fingerprints and the signature at the appointment: the embassy in Brussels says applicants «are no longer required to bring photos», Bangkok says there is «no need to bring a passport-sized photo», Chicago says «do not bring pictures» and Shanghai says photographs, fingerprints and signatures are «taken on-site».
Read more
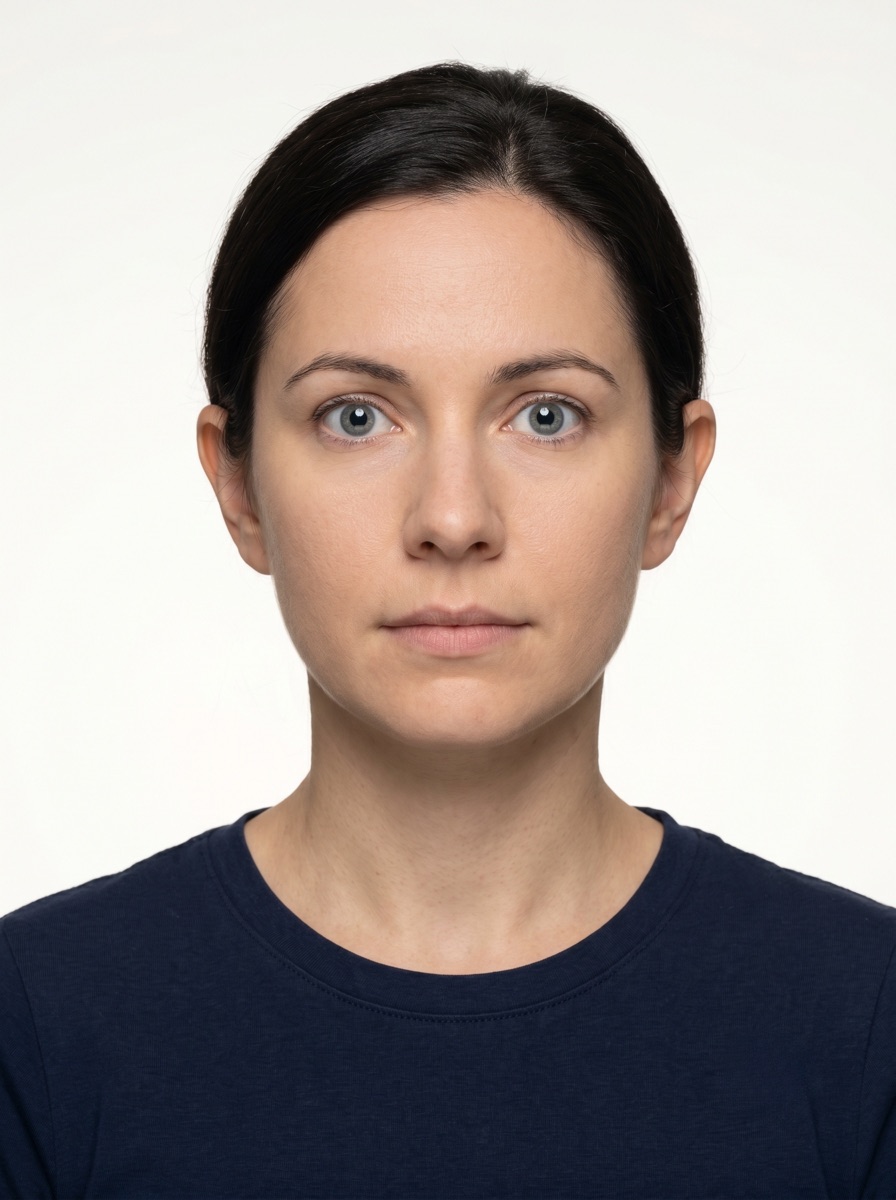
What the DFA does publish is how to stand in front of its camera: a frontal pose with the full face, no tilt of the head, a neutral expression with both eyes open and the mouth closed (a smile without teeth and gums is allowed), no hair over the eyes, both ears visible as far as possible, eyeglasses always removed, no earrings, hair neatly arranged — and, for the picture, decent clothing: collared tops or higher necklines in a colour that contrasts the background cloth, no sleeveless tops or camisoles.
Examples and mistakes
What makes Philippines passport photos accepted
One compliant example next to the six most common rejection causes for Philippines passport applications. These are the differences that most often determine whether a document photo is accepted.
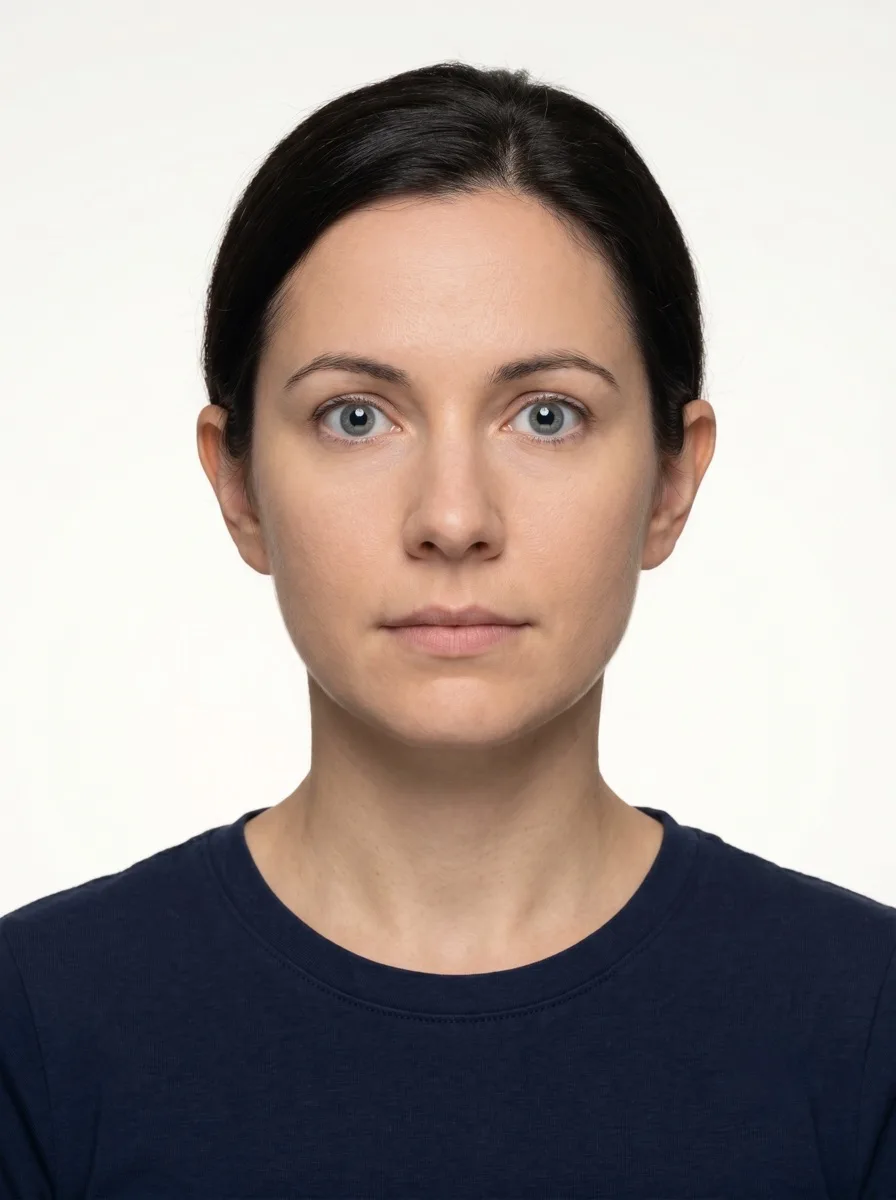
Accepted
Compliant Philippines passport example
Face centred, looking directly into the lens
Plain background — no shadow, pattern or texture
Neutral expression, eyes open, mouth closed
No glasses, no hair across the face
Top 6 Philippines passport rejection causes
Background shadowShadow on the wall behind the head, or background with a visible pattern or gradient
Smile / open mouthVisible smile with teeth or open mouth instead of a neutral expression
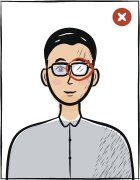
Glasses with glareGlasses with a clearly visible light reflection covering part of the eye
Hair across the faceLoose hair strands covering the eyes, eyebrows or part of the face
Eyes off-cameraEyes looking to the side instead of directly into the camera lens
Head tiltedHead tilted so the eye line is no longer horizontal
Typical rejection reasons and how to fix them
Typical reasons a photo is rejected under the rules Philippine Department of Foreign Affairs (DFA) and Philippine foreign service posts publishes: what is wrong and what to change.
Reason
Fix
Eyeglasses worn (they must always be removed)
Take your glasses off before the capture; medical contact lenses are accepted if they keep your true eye colour.
Earrings, necklace, piercings or coloured contact lenses at the capture
Remove jewellery and coloured lenses; small stud ornaments may be accepted if they cast no shadow.
Head tilted or turned, raised eyebrows, squint, frown, hair over the eyes
Face the lens squarely with a neutral face and the hair off the eyes.
Showing teeth and gums when smiling
Keep the mouth closed, with at most a slight smile.
Sleeveless, plunging or see-through clothing
Wear a collared top, blouse or higher neckline in a colour that contrasts the background cloth.
How to take your Philippines passport photo correctly
Background and light
Background: plain light
The tool puts in the required background. Stand half a metre from a plain light wall, face a window and shoot without flash — then there are no shadows on your face or on the wall.
Framing
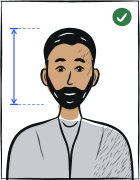
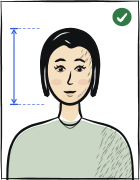
Camera at eye level, about a metre away; head and shoulders in the shot. The tool crops it to the required size.
Glasses
Glasses prohibited
Take them off before the shot.
Expression and gaze
A neutral expression is preferred; a slight closed-mouth smile with no visible teeth or gums (known as a Mona Lisa smile) is allowed, both eyes open
Look straight into the lens with your head level; keep hair away from your eyes and eyebrows.
A Philippine passport is applied for in person: in the Philippines at a DFA consular office with an online appointment, abroad at the Philippine embassy or consulate that covers you. The photograph is taken there, together with the fingerprints and the signature; bring no printed photo.
DFA consular office or Philippine embassy / consulateappointment, in person
Book through passport.gov.ph; the photograph, fingerprints and signature are taken at the appointment
Processing
Set by each office
Cost
Set by each office; see the DFA passport fees page
No photo to bring; glasses off, ears visible, no earrings, a collared or high-neck top.
DFA, «Guidelines on Capturing your Photo» — pose: a frontal pose looking directly at the camera lens and showing the full face; no rotation or tilting of the head up/down or left/right; the mid-points of the mouth and the bridge of the nose on an imaginary vertical line in the centre of the image.
Same guidelines — expression: neutral, both eyes open and mouth closed, no hair covering the eyes; raised eyebrows, squinting or frowning are not acceptable; the applicant may smile but without showing teeth and gums (a «Mona Lisa» smile is recommended).
Same guidelines — eyeglasses and lenses: eyeglasses should always be removed; contact lenses for medical reasons are accepted if they do not change the true eye colour, though applicants are advised to take them off; both ears should be visible as much as possible.
Same guidelines — accessories and children: earrings and hair accessories removed, earrings not allowed, afro or frizzy hairstyles arranged neatly to show the full frontal face; infants are supported by a parent or guardian with hands and arms out of the picture, and a high chair may be used.
DFA consular passport information: stud earrings or small ornaments may be accepted, but anything that obscures the face and generates shadow is prohibited; on attire, collared tops, blouses or higher necklines in colours that clearly contrast the background cloth are encouraged, and sleeveless tops and camisoles avoided.
Posts: Brussels — personal appearance for all passport applications because biometric data capture and picture taking are done at the Embassy, no photos to bring; Bangkok — no need to bring a passport-sized photo; Chicago — pictures taken at the Consulate (do not bring pictures), no earrings, necklace, piercings, glasses or coloured contact lenses at data capture; Shanghai — no photographs to submit, jewellery and coloured lenses not allowed at capture.
Questions
Frequently asked questions
You do not bring a photo: the DFA or the Philippine post takes it at your appointment. What counts is how you present yourself: a frontal pose with the full face, a neutral expression, both eyes open and the mouth closed (a smile without teeth and gums is allowed), glasses removed, both ears visible, no earrings, and decent clothing.
None is asked of you for a regular passport. The embassies in Brussels and Bangkok and the consulates in Chicago and Shanghai say applicants do not bring a photograph, because the picture is taken on site. If a service of your post does ask for printed photos, it will say the size on its own page.
No. The DFA says eyeglasses should always be removed before the photo is captured. Contact lenses for medical reasons are accepted if they do not change your true eye colour, though you are advised to take them off; coloured contact lenses are not allowed.
Slightly. The DFA allows a smile but without showing teeth and gums and recommends a «Mona Lisa» smile; raised eyebrows, squinting and frowning are not acceptable, and the mouth otherwise stays closed.
Decent clothing: collared tops, blouses or higher necklines in a colour that clearly contrasts the background cloth are encouraged; avoid sleeveless tops, camisoles, plunging or see-through tops. Remove earrings, necklaces and piercings; stud ornaments may be accepted if they do not obscure the face or cast a shadow.
The Philippines passport photo must meet the authority requirements shown in the table above.
Photo is usually taken at the authority on site; if a preparatory file is needed, use a neutral plain light background without shadows. No gradients, textures, shadows or objects behind the subject are permitted. The tool removes background shadows automatically, but starting with a flat, evenly lit wall gives the best result.
Yes. Stand in front of a flat, plain wall in good natural light, face the light source and use the rear camera of your phone with a 3-second timer. The tool handles the crop, background normalisation and compliance check against the Philippines biometric standard.
Most passport authorities require the photo to be taken within the last six months. Do not reuse an older portrait even if your appearance has not changed.
Anfas.Pro provides a 14-day full refund if the photo is rejected by the Philippines authority and you supply the official rejection notice. See the refund policy page for the exact process.
Glasses not permitted. In practice, the biometric scanner at submission points flags even minor lens glare that looks fine to the naked eye. Removing glasses before shooting is the only option that eliminates the risk entirely.
Religious reasons only; must not cover the facial oval. The face must stay fully visible from chin to forehead and on both sides, with no shadow across it.