SourceDepartment of Internal Affairs of New Zealand — New Zealand Passports
Verified
Quick answer: Background for the New Zealand passport photo: light plain background without shadows or extraneous objects; DIA explicitly rejects a pure white background (LIGHT but NOT WHITE). Neutral expression, clear lenses only, no glare. Last verified .
Light plain background without shadows or extraneous objects; DIA explicitly rejects a pure white background (LIGHT but NOT WHITE).
Pose
Full face, head centred, no tilt or rotation.
Expression
Neutral expression, mouth closed, eyes open.
Glasses
Ordinary prescription glasses are allowed: untinted lenses, a thin frame that does not cover the eyes, no reflections; sunglasses are prohibited. See full rules →
Lighting
Photo must be clear, well-lit, and without digital alterations.
Head covering
Only for religious, medical or cultural reasons, without covering the facial oval.
Attire
Clothing must not blend into the background; face and shoulder line must be clearly defined.
The New Zealand passport photo is a digital file, not a print: three numbers matter — the 3:4 or 4:3 shape, 250 KB to 5 MB, and 900–4500 × 1200–6000 pixels — and a scan of a printed photo is refused.
The photograph is taken from about 1.5 m away with the camera at eye level, by someone else: selfies are rejected outright because the close lens distorts the face.
A head covering for religious or medical reasons needs an endorsement in the passport; glasses must not be tinted or thick-framed and need a clear gap between eyes and frames.
How passport photos are verified
A New Zealand passport photo is digital only: New Zealand Passports (Department of Internal Affairs) says it must be a portrait image, in colour, taken within the last 6 months, and that scans of physical photos and selfies are not accepted. The technical requirements are a 4:3 aspect ratio (3:4 on a smartphone), a .jpg or .jpeg file between 250 KB and 5 MB, 900 to 4500 pixels wide and 1200 to 6000 pixels high, which the site's online photo checker tests.
Read more
Someone else takes the photo, standing about 1.5 m away with the camera at your eye level; the background is plain and light-coloured — light blue, grey or cream — with you at least half a metre in front of it and a strong contrast between face and background. Your head is centred with space around the top and sides, with part of the shoulders and upper chest, the whole face visible, not tilted or turned, hair out of the eyes and away from the sides of the face, a neutral expression with the mouth closed.
Prescription glasses are allowed if not tinted or thick-framed, with a clear gap between eyes and frames and no glare; head coverings only for religious or medical reasons (with an endorsement in the passport); no filters or digital alteration and no black-and-white. For babies: lying flat on a plain light-coloured sheet, photographed from above, eyes open.
Examples and mistakes
What makes New Zealand passport photos accepted
One compliant example next to the six most common rejection causes for New Zealand passport applications. These are the differences that most often determine whether a document photo is accepted.
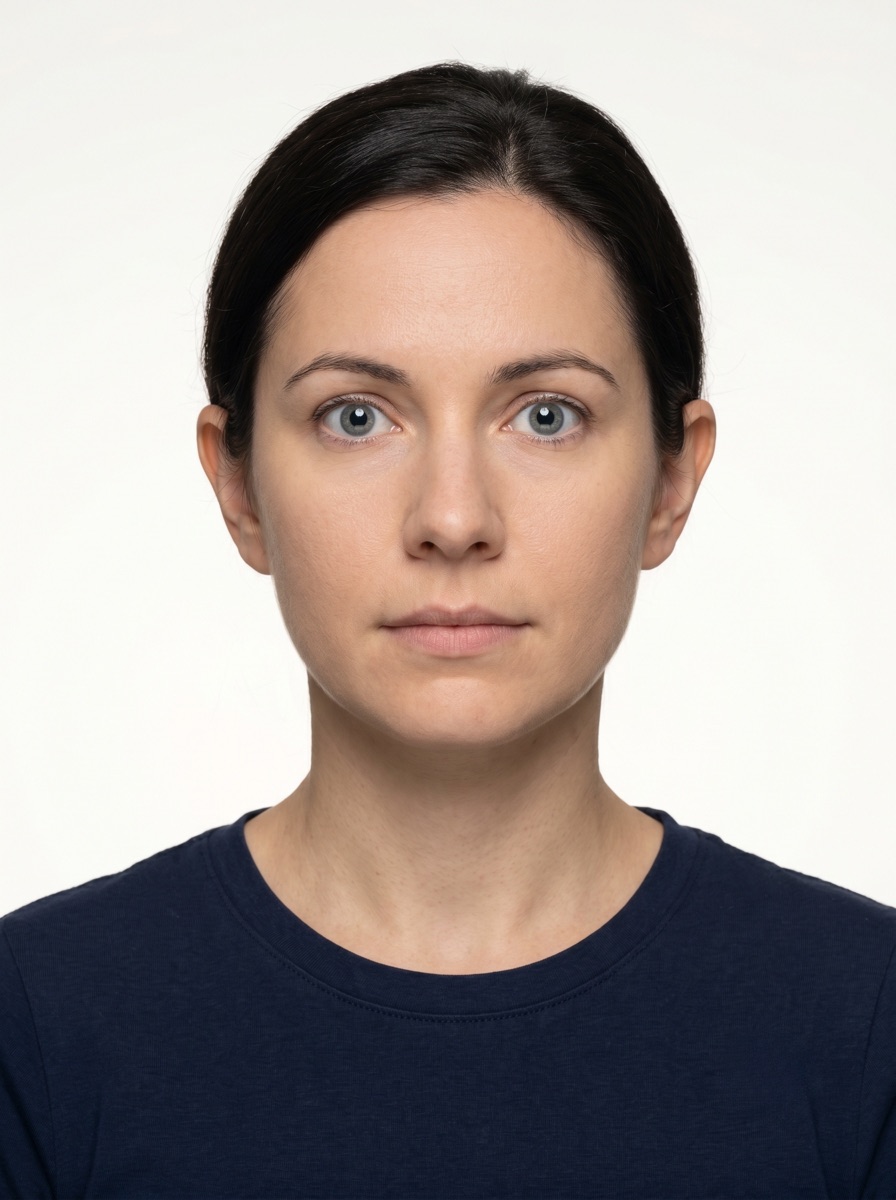
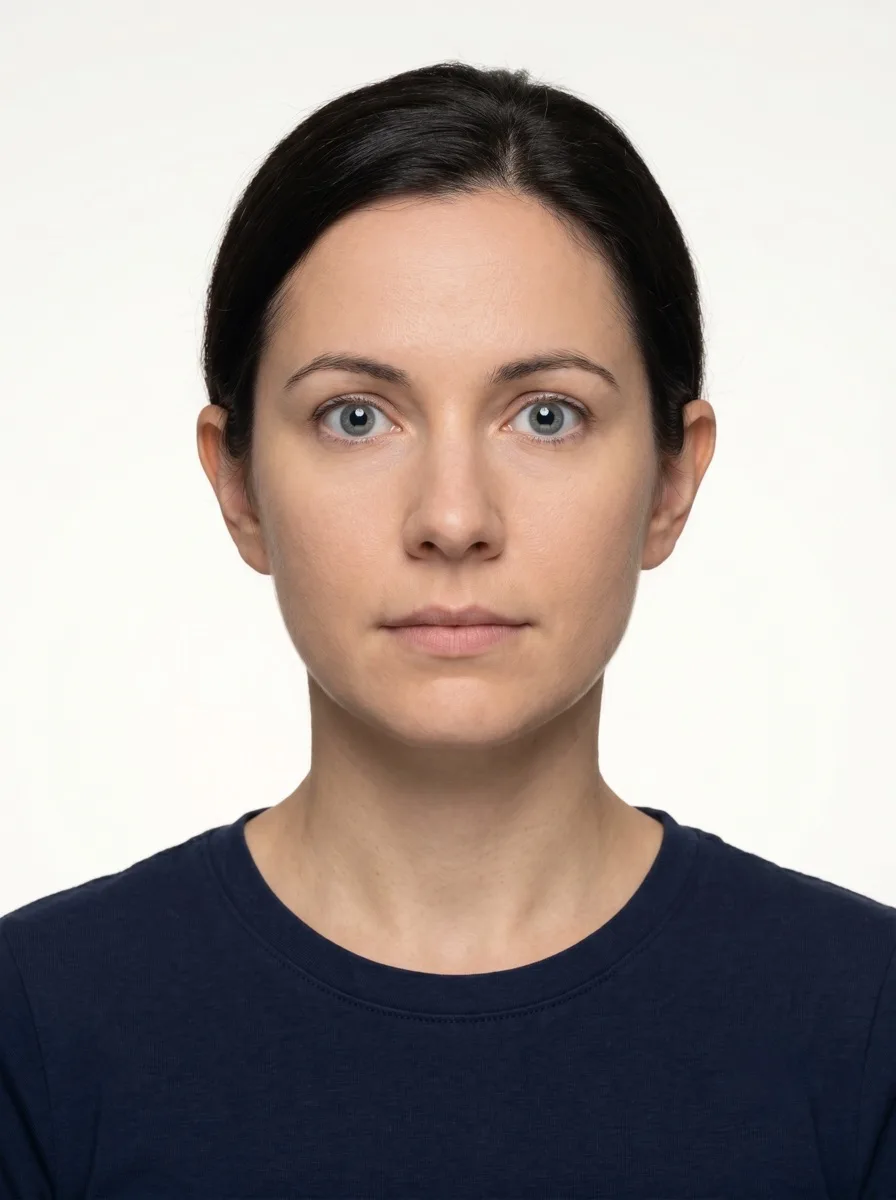
Accepted
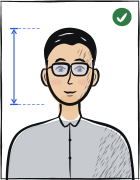
Compliant New Zealand passport example
Face centred, looking directly into the lens
Plain background — no shadow, pattern or texture
Neutral expression, eyes open, mouth closed
No glasses, no hair across the face
Top 6 New Zealand passport rejection causes
Background shadowShadow on the wall behind the head, or background with a visible pattern or gradient
Smile / open mouthVisible smile with teeth or open mouth instead of a neutral expression
Glasses with glareGlasses with a clearly visible light reflection covering part of the eye
Hair across the faceLoose hair strands covering the eyes, eyebrows or part of the face
Eyes off-cameraEyes looking to the side instead of directly into the camera lens
Head tiltedHead tilted so the eye line is no longer horizontal
Typical rejection reasons and how to fix them
Typical reasons a photo is rejected under the rules Department of Internal Affairs of New Zealand — New Zealand Passports publishes: what is wrong and what to change.
Reason
Fix
A selfie, or a photo taken too close to the face
Have someone take the photo from about 1.5 m with the camera at eye level.
A scan of a printed photo, black-and-white, or a file not in .jpg or .jpeg
Use a digital colour photo saved as .jpg or .jpeg.
A file under 250 KB or over 5 MB, or outside 900–4500 × 1200–6000 pixels, or not 4:3 or 3:4
Use a portrait file of 250 KB to 5 MB with the right pixel ranges and ratio.
Shadows on the face or behind the head, or a background that is not plain and light
Use even light and a plain light-coloured background with no objects or people.
Tinted or thick-framed glasses, glare, a head covering without a reason, a smile, filters or digital edits
Remove such glasses and hats, keep a neutral mouth-closed expression, and do not edit the photo.
Top reasons New Zealand passport photos get rejected
Photo is a selfie New Zealand warns that selfies are rejected because a close front camera distorts the nose, forehead and ears.
Digital image is outside the required pixel range The online passport route requires 900–4500 px wide and 1200–6000 px high, with a 3:4 aspect ratio.
How to take your New Zealand passport photo correctly
Background and light
Background: plain light
The tool puts in the required background. Stand half a metre from a plain light wall, face a window and shoot without flash — then there are no shadows on your face or on the wall.
Framing
Camera at eye level, about a metre away; head and shoulders in the shot. The tool crops it to the required size.
Glasses
Clear lenses only, no glare
If you wear glasses, check the shot: no glare on the lenses, eyes clearly visible.
Expression and gaze
Neutral expression, mouth closed, eyes open
Look straight into the lens with your head level; keep hair away from your eyes and eyebrows.
A New Zealand passport is applied for online; the digital photo is uploaded in the application after it passes the online photo checker, and the photo can come from a photo service, a professional photographer or someone you know.
New Zealand Passports online applicationonline application with upload
passports.govt.nz — start application; test the photo with the online photo checker
Processing
See the New Zealand Passports processing times
Cost
See the fees on passports.govt.nz
Digital colour JPG, 250 KB to 5 MB, 900–4500 × 1200–6000 pixels, 3:4, taken in the last 6 months.
New Zealand Passports, passport photos: the photo must be less than 6 months old and meet the requirements; you can use a photo service (a stationery chain, selected pharmacies, a professional photographer) that emails a digital copy, or ask someone you know; scans of physical photos are not accepted; selfies are not accepted — if the camera is too close the face looks distorted and the photo may be rejected when a passport officer checks it.
New Zealand Passports, technical requirements: a portrait photo with a 4:3 aspect ratio, or 3:4 on a smartphone; digital; in colour; saved in .jpg or .jpeg format; between 250 KB and 5 MB; between 900 and 4500 pixels wide, and 1200 and 6000 pixels high. A photo smaller than 250 KB must be replaced with a larger one, and one larger than 5 MB compressed; the online photo checker tests the file and gives an error if it does not meet the requirements.
New Zealand Passports, how to take a passport photo — the photographer: takes a portrait photo with a 4:3 aspect ratio (3:4 on a smartphone), stands about 1.5 m away and holds the camera at the subject's eye level, because a camera too close makes the nose and forehead appear larger and the ears less visible. The top reasons for rejection: the camera is too close or the photo is a selfie; shadows on the face or behind the head; a background that is not plain.
Same page, background and position: a plain, light-coloured background — light blues, greys and creams work well — with a strong contrast between face and background, the subject at least half a metre from it and no people or objects; the head in the centre with a clear gap around the sides and top, part of the shoulders and upper chest included; the whole face in view, not tilted or turned, hair out of the eyes and away from the sides of the face; a neutral expression with the mouth closed.
Same page, glasses, head coverings and edits: prescription glasses allowed if not tinted or thick-framed, no sunglasses, a clear gap between the eyes and the frames, no glare or flash reflection; no hats, hoods, headbands or head coverings unless worn for religious or medical reasons, in which case the face must be fully visible and the passport carries an endorsement; no filters or digital alteration; in colour, never black-and-white. Babies lie flat on a plain light-coloured sheet and are photographed from above with the eyes open and no people or objects in the background.
Questions
Frequently asked questions
A digital colour portrait photo taken within the last 6 months by someone else about 1.5 m away, saved as a JPG or JPEG of 250 KB to 5 MB with a 4:3 (3:4 on a phone) ratio and 900–4500 pixels wide by 1200–6000 high, on a plain light-coloured background, with a neutral expression and the mouth closed, no filters and no selfies.
There is no print size: the photo is digital, 4:3 (3:4 on a smartphone), 900 to 4500 pixels wide and 1200 to 6000 high, 250 KB to 5 MB, as a JPG or JPEG.
Not as a selfie: someone else has to take it, standing about 1.5 m away with the camera at your eye level; photo services and professional photographers can email a digital copy.
Prescription glasses, yes, if they are not tinted or thick-framed, with a clear gap between the eyes and the frames and no glare or flash reflection; sunglasses are not allowed.
The New Zealand passport photo must meet the authority requirements shown in the table above. For digital upload, use 900 × 1200 to 4500 × 6000 px.
Light plain background without shadows or extraneous objects; DIA explicitly rejects a pure white background (LIGHT but NOT WHITE). No gradients, textures, shadows or objects behind the subject are permitted. The tool removes background shadows automatically, but starting with a flat, evenly lit wall gives the best result.
Yes. Stand in front of a flat, plain wall in good natural light, face the light source and use the rear camera of your phone with a 3-second timer. The tool handles the crop, background normalisation and compliance check against the New Zealand biometric standard.
Most passport authorities require the photo to be taken within the last six months. Do not reuse an older portrait even if your appearance has not changed.
Anfas.Pro provides a 14-day full refund if the photo is rejected by the New Zealand authority and you supply the official rejection notice. See the refund policy page for the exact process.
Ordinary prescription glasses are allowed: untinted lenses, a thin frame that does not cover the eyes, no reflections; sunglasses are prohibited. In practice, the biometric scanner at submission points flags even minor lens glare that looks fine to the naked eye. Removing glasses before shooting is the only option that eliminates the risk entirely.
Only for religious, medical or cultural reasons, without covering the facial oval. The face must stay fully visible from chin to forehead and on both sides, with no shadow across it.